APPLICATION GUIDELINES
Patent Hemostasis Technique
1. Upon completion of procedure
withdraw introducer sheath 2-3cm.
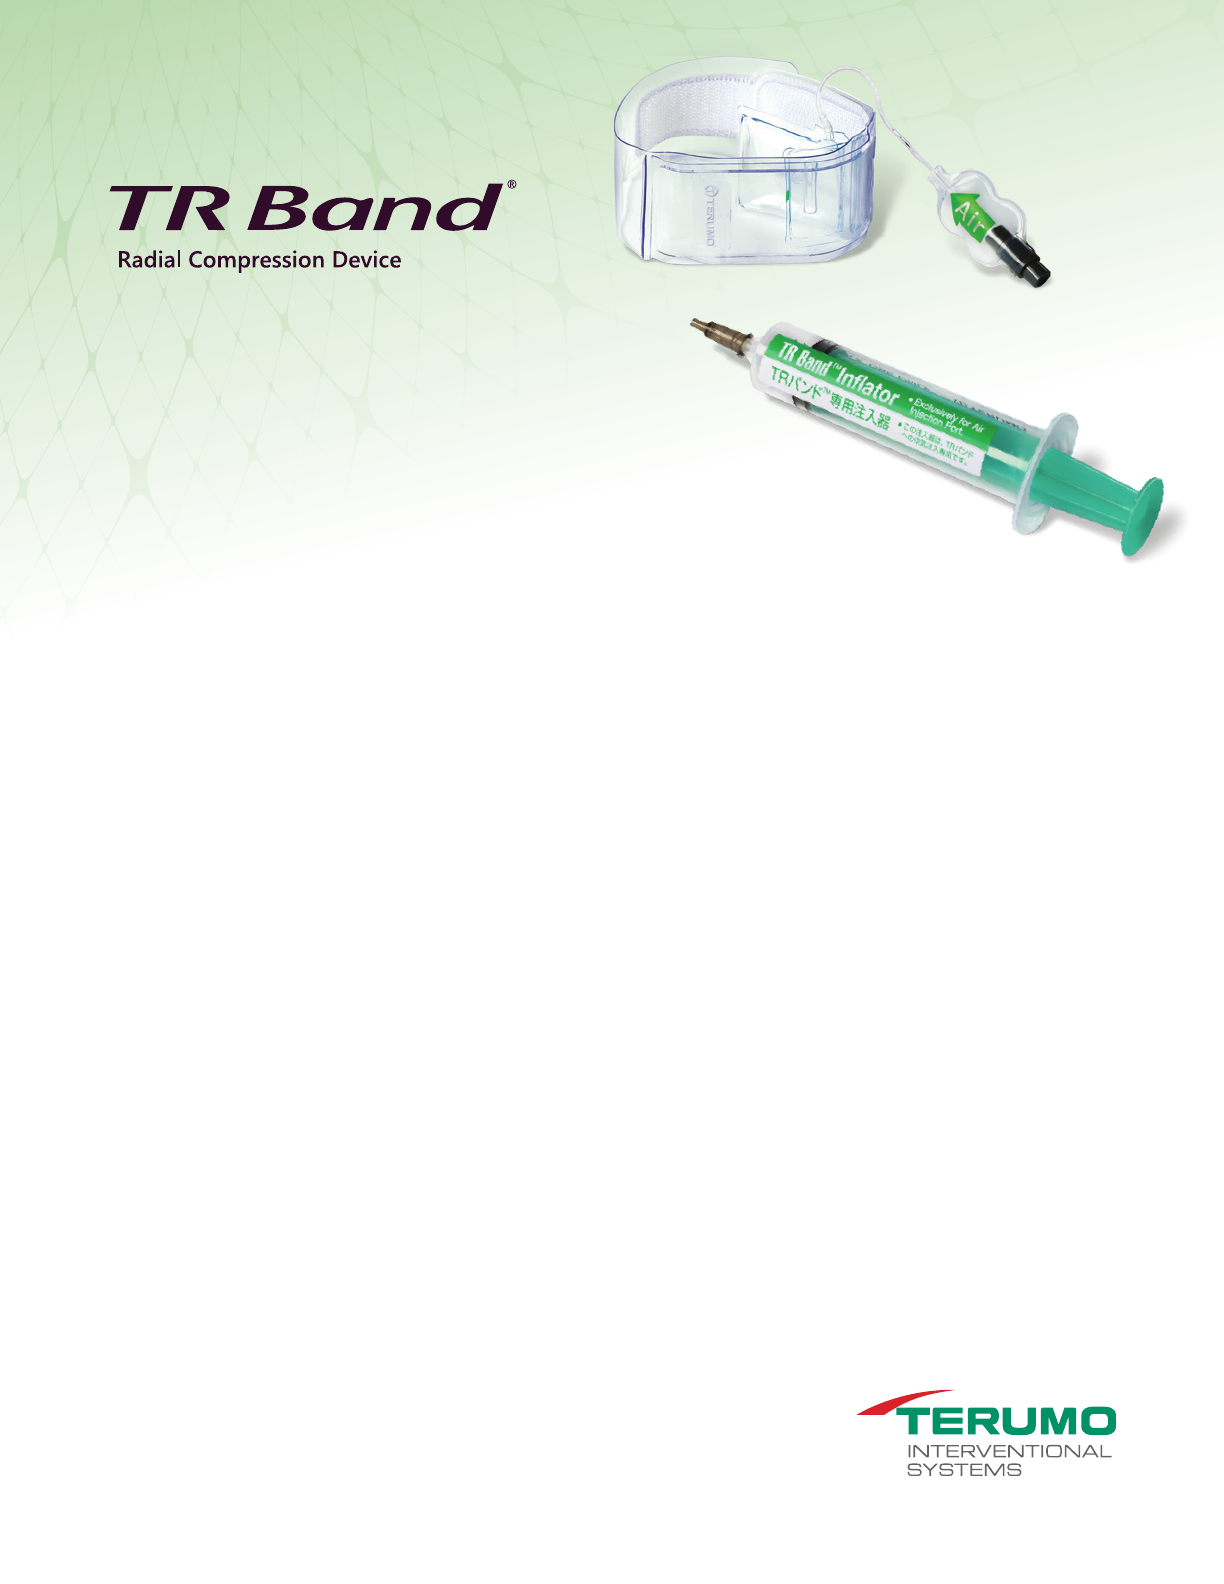
2. Apply the TR BAND Compression
Device by aligning green marker,
which is located on the center of the
compression balloon (large) 1-2mm
proximal to the puncture site, and fix the
strap on the wrist with the adjustable
fastener. The TR BAND Compression
Device should be fixed tight enough to
prohibit the band from spinning.
This device must be positioned
differently when used on the left or
right wrist. When attaching the device,
ensure that the Terumo logo on the
support plate is closest to the patient’s
little finger.
3. Slowly inject 15-18mL of air while
simultaneously removing sheath. Air
should be fully inserted when sheath is
completely removed.
NOTE: The goal is for bleeding to cease
when the sheath is completely removed.
4. Begin titration of air using the patent
hemostasis technique by removing 1mL
per second while observing the access site
for bleeding. When bleeding occurs, inject
1-2ccs of air or until bleeding stops.
5. Confirm radial pulse and evaluate radial
artery patency by using the reverse
Barbeau’s test
1,2
:
– Place the plethysmographic sensor on
the thumb or index finger of the involved
upper extremity with the observation of
pulsatile waveforms.
– Compress the ulnar artery at the level of
the wrist, and observe the behavior of
the waveform.
– Absence of plethysmographic waveform
is indicative of interruption of radial
artery flow.
If this occurs, the hemostatic compression
pressure should be lowered to the point
where plethysmographic waveform
returns and hemostasis is maintained.
This is evidence of antegrade radial
artery flow.
1. Patel T. Patel’s Atlas of Transradial Intervention: The Basics and Beyond. 2012; 8-17.
2. Barbeau et al. Am Heart J. 2004;147:489-93.

* NOTE: Guidelines are based on compilation of best practices. TR BAND Compression Device removal protocols should be consistent
with needs of the provider(s) and patient. Air injection volume and compression time may differ according to the patient’s condition,
anticoagulation, and the size of the puncture site. Check the puncture site frequently and adjust accordingly.
RX ONLY. Refer to the product labels and package insert for complete warnings, precautions, potential complications,
and instructions for use.
©2019 Terumo Medical Corporation. All rights reserved. All brand names are trademarks or registered trademarks of Terumo. PM-01472
REMOVAL GUIDELINES
*
Heparin 50 units/kg or less—band remains
in place 60 minutes. Heparin (or comparable
agent) greater than 50 units/kg —band remains
in place for 120 minutes.
1. Place oxygen saturation probe on thumb or
index finger of access site hand to confirm
patent hemostasis.
2. Remove 3-5mL every 10-15 minutes.
NOTE: As an alternative, to accelerate the
removal of the TR BAND Compression Device,
the operator can slowly deflate the TR BAND
Compression Device in one step.
3. If bleeding occurs during removal, insert
enough air to restore hemostasis; confirm
patent hemostasis. Wait 15-30 minutes,
repeat step 2.
4. Once air has been completely removed
from band, confirm bleeding has stopped.
Unfasten the adjustable band while
stabilizing access site with gentle pressure.
Remove band by lifting slowly toward palm
of hand.
5. Apply sterile dressing.
