
DARTMOUTH COLLEGE
FILM AND MEDIA STUDIES TECHNICAL SUPPORT
For additional assistance feel free to contact:
our website here
1
Sound&Recording&with&Audacity!
Audacity®*is*free,*open*source,*cross-platform*audio*software**
for*multi-track*recording*and*editing.*For*more*info*visit:*
!""#$%&&'''()*+),-"."/)0(123&*!
4"/#56%55
Turn on the laptop, log in under the Foley account, using the password “illusion”.
The white ‘iMic’ USB cable should already be plugged into the laptop; this will
connect the microphone to the computer. Audacity is located in the “applications”
folder as well as located in the dock.
4"/#57%5
With Audacity open, make sure that the Input Device (the pull down menu next to
the micro- phone icon) is ‘iMic USB audio system’.
If you do not see ‘iMic USB’ as an option, make sure that it is connected via the
USB port on the laptop, and then in the laptops System Preferences check
Sound>Input, and select‘iMac USB’. You can leave the Output setting at ‘Built-in
Output’, so that you can listen to your audio through the head- phones connected
to the headphone jack of the laptop.

DARTMOUTH COLLEGE
FILM AND MEDIA STUDIES TECHNICAL SUPPORT
For additional assistance feel free to contact:
our website here
2
4"/#58%5
Choose 1 (Mono) to balance the audio on both left and right channels. Using the
stereo setting while re- cording with a mono microphone will result in your audio
only being on the right or left track.
If you would like to monitor your audio before !you begin recording, you can so via
the top menu Audacity>Preferences. Select Software Play through, and then click
OK. Selecting Hardware Play through as well will result in recording an echo, as
the monitoiing sound will be slightly recorded as well as the source sound
through the microphone.
To activate the monitoring, click on the microphone icon or select Start
Monitoring from the pull down menu. This will allow you to see your sound levels
(red) in the meter. A good recording level would be around the -24 to 12 db
range.
5
5
DARTMOUTH COLLEGE
FILM AND MEDIA STUDIES TECHNICAL SUPPORT
For additional assistance feel free to contact:
our website here
3
4"/#59%5
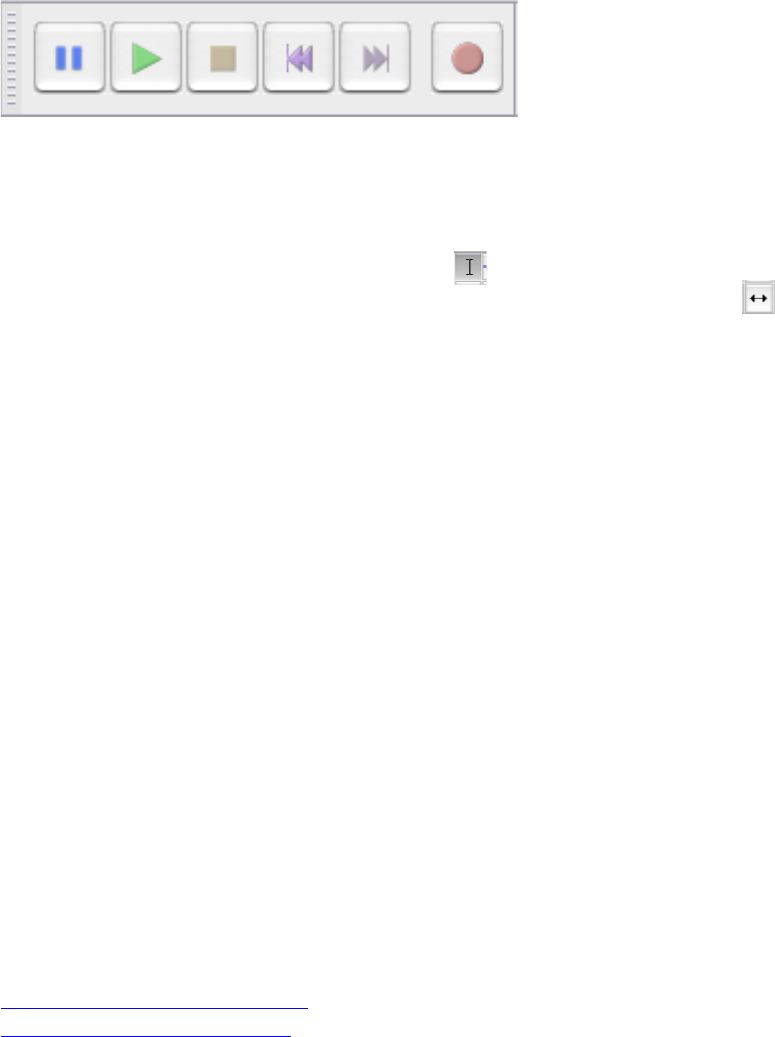
Press the red record button to record, and the yellow stop button to stop the
recording. You can then listen back to your recording with the green play button
and navigate through the track with the timeline marker. If you are monitoring
your audio while recording, make sure the sound is not coming out of the
speakers, but rather through the headphones, so that you are not recording both
the original sound and the playback.
Note:!
Multiple takes will result in multiple individual tracks- this is okay, when you
export the audio file it will be collapsed into two tracks.
Usually you will be using the selection tool to navigate your way around the
tracks you created. You do have the option of using the time shift tool ; this
will allow you to ‘move’ your tracks around and stack them up, if you would like
them to play over each other. You may want to leave all your tracks staggered so
they play one after the other, so that you can cut and arrange them later against
your movie in your Non-Linear Editor (such as Final Cut Pro) timeline. Know that
stacking up your audio tracks may lead to an increased ‘room tone’ level in the
quieter moments of your recording, as they will all be playing at the same time.
Once you have finished recording your sound, you are now ready to create an
audio file that you can work with.
5
5
5
5
5
5
5
5

DARTMOUTH COLLEGE
FILM AND MEDIA STUDIES TECHNICAL SUPPORT
For additional assistance feel free to contact:
our website here
4
4"/#5:%
You can save an audio file from your Audacity project by selecting File>Export.
A new window will open, allowing you to name the file, select where you will save
the le (ideally a folder you have
created for yourself in the
Sound FX folder on the hard
drive), and to choose the file
format you will save the file
as. A good option would be
to save it as an AIFF file,
a format that works well within
most editing programs such
as Final Cut Pro.
You will get a warning that
your tracks will be mixed down
that is finne and you can
click OK.
After saving the le, you will
have an opportunity to add
any metadata you would like
to include for that le (this info
will be visible to you via the
‘get info’ option of the le later).
;<+-<35.1*25$/$$-1<%5
When you quit Audacity you will be asked if you want to save your project. If you
think you will need to return and add new recordings to these original tracks,
choose “Yes”, name the project and save that as well to your folder.
Remember, doing this saves only the project, and does not export usable sound
les for editing. If you have no need to save the project, simply select No.
Once you have finished, you can copy the files in your folder to an external hard
drive of your own, or move your folder to the Archive via the local network (plug
the Ethernet cable into any even numbered Ethernet port in Studio 106), and
access your les that way from the Animation Lab.
Last Updated January 2018
